You can use a no-reply mailbox in scenarios where you need to send automatic mailings, notifications, or information newsletters to your customers and do not expect anyone to reply. A no-reply mailbox is usually not checked and all incoming emails are automatically deleted. In this example, we will show how to create a no-reply email address in Exchange Server and Microsoft 365 (Exchange Online).
It is usually recommended to create a separate shared mailbox for a no-reply email address:
- You can allow other Exchange users to send e-mail messages on behalf of this address;
- No separate license is required for shared mailboxes in Exchange Online;
- There is an important limitation if you want to use this mailbox to send mail outside of Outlook: you cannot perform SMTP Auth as a shared mailbox. You can’t use the PowerShell Send-Message cmdlet, but you can use the Microsoft Graph API to send email from PowerShell.
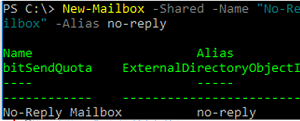
Create a new shared mailbox using Exchange Admin Center or using PowerShell:
New-Mailbox -Shared -Name "No-Reply Mailbox" -DisplayName "No-Reply Mailbox" -Alias no-reply
Delegate the permissions to send emails on behalf of this mailbox to a security group:
Set-Mailbox no-reply -GrantSendOnBehalfTo B2BSales| Add-MailboxPermission -User B2BSales -AccessRights FullAccess -InheritanceType All
Then you have to create a rule to delete all incoming emails. You can create a mailbox Inbox rule or enable an auto-reply (out-of-office), but it is more convenient to use an Exchange transport rule to delete the email before it reaches the mailbox.
If you use Exchange Online, open Exchange Admin Center -> Mail flow -> Rules -> Add a rule.
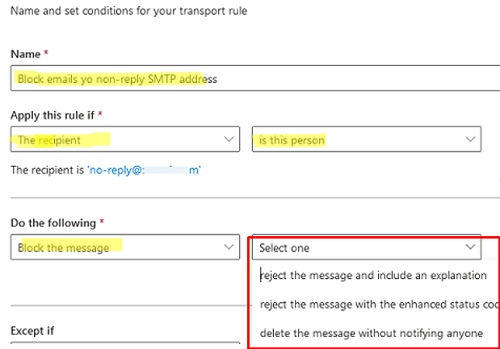
Create a transport rule with the following settings:
- Name: Block emails to non-reply SMTP address;
- Apply this rule if: The recipient -> is this person -> select the no-reply shared mailbox you created earlier
- Do the following: Block the message -> and select an action: Reject the message and include an explanation (if you want to reply to an email with a simple template that says that the mailbox is not checked and specify contact information) or simply delete the email (Delete the message without notifying anyone).
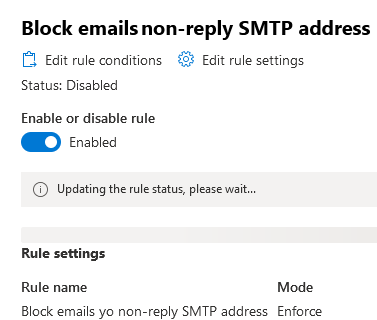
Do not forget to activate a transport rule once you have created it.
You can create an Exchange transport rule in PowerShell:
New-TransportRule -Name "Reject messages to non-reply email address" -RecipientAddressMatchesPatterns "[email protected]" –RejectMessageSilently
Or
New-TransportRule -Name "Block messages to non-reply address" -RecipientAddressMatchesPatterns "[email protected]" -RejectMessageReasonText "This recipient is not allowed to receive messages" -RejectMessageEnhancedStatusCode "5.7.1" -Mode Enforce
For the convenience of your organization’s users, you can hide this mailbox from the Exchange address book and enable MailTip for it:
Set-Mailbox no-reply -MailTip "Nobody reads this mailbox"
Your email will not be saved to the mailbox database, and a DROP event should appear in the Exchange tracking logs.


